Get Your Graphics Print Ready
Ready, Set, Print.
Creating your graphics right the first time will eliminate headaches and help you avoid costly mistakes.
One
Know what you’re creating. A brochure is not a banner stand. And a banner stand is not a back wall mural.
Illustrator and Photoshop are better for large format graphics. InDesign is better for brochures and catalogs.
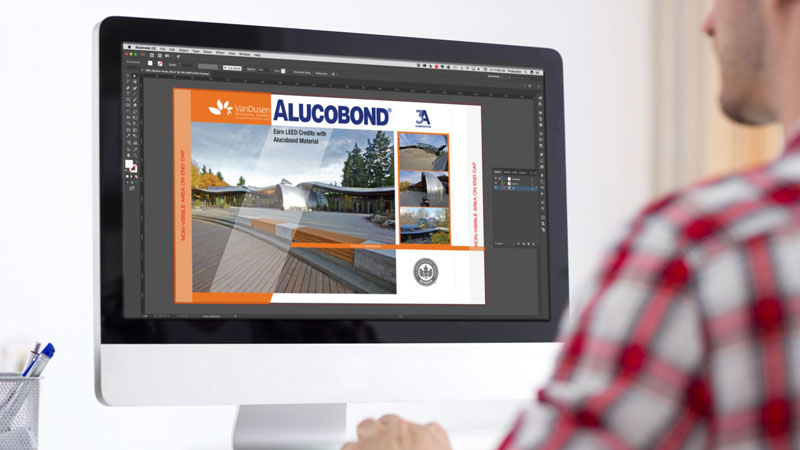
Use Illustrator for your layout work and final file. Use Photoshop for image preparation.
Two
Know your company standards for colors, fonts, logo treatments, and placement.
Set and save your corporate colors in your color pallet in Illustrator and Photoshop so you don’t have to recreate them with every file.
Use Pantone colors, not CMYK settings. Specific Pantone colors are the printing industry standard.
Using CMYK values won’t always tell us what to match to. G7 Certified printers can match to a Pantone color but not necessarily a CMYK build. If it’s important, use Pantone colors.
Three
Inspect your logos and images.
Logos are best as vector formats, i.e. created in Illustrator. They can be infinitely enlarged without loss of quality.
Images need to be at least 100 pixels per inch at 100% size for good reproduction. A pixel size of 125 to 150 per inch is even better.
Check the overall image balance. Start with “Auto Tone”, “Auto Contrast” and “Auto Color.”
As needed, we adjust the following for each image:
- levels on black, white, and gray
- curves for shadows and highlights
- brightness and contrast
- hue and saturation
- color balance
Edit your image for dirt and anything that needs removed. Crop for content and size.
TIP: If the image is a blotchy JPEG (looks like a skin rash) then the image is likely not the original. JPEG images that are saved multiple times get worse with each generation. Use the original and largest file available if you can.
Four
Use a template. We have many on our site and are always adding more. If it’s not there, we’ll make one for you.
Our templates typically have one layer for notes; one layer for the template, compete with sizes and bleeds; and one layer for the design (usually labeled “Design Here”).
Create your graphic on the design layer.
TIP: Turn on and off the template layer to view your design as you work on it.
Add other design layers as needed—one each for photos or text or colored backgrounds. When you combine all elements on one layer, it makes it hard to work with individual items and something can be accidentally deleted or altered that you did not not intend.
NOTE: You can create multiple graphics in one file for consistency. Everything will be correctly aligned. Create layers for changing content, i.e., images and text.
But, when you’re finished, save out each graphic as a separate file, so your printer doesn’t print the wrong elements.
Five
Send your files to us in the native software. Don’t “save as” something else.
This allows us to inspect your files thoroughly and possibly fix errors before we print.
Don’t forget to include all your elements, i.e., images and fonts.